# Set up and use KPI
KPIs (key performance indicators) act as a compass to point to your business goals and track your company's performance. With data being more and more crucial for understanding customer needs in pharmaceutical world, these indicators help you get to know your audience better through capturing and monitoring all customers' data.
eWizard's built-in advanced monitoring functionality helps to capture real-time data and track all content-based interactions during e-Details display. The automatic functionality with advanced analytics is used to measure performance and progress, capturing all data from interactive slides. This in turn helps to get deeper customers insights, profiling them accordingly.
Benefits? To name just a few:
• Capture any information from any interactive elements, like sliders, radio buttons, etc.
• Get data from questionnaires
• Learn how much time was spent on a slide
• Analyze and discover the potential of prescriptions
• Get information from patient's profile selection
Follow this guide to learn how to set up monitoring in eWizard in just a few steps.
# How to set up KPI in eWizard
By default, an e-Detailer provides common KPI: time on a slide, demonstration start and end time, etc. If you need to analyze any other characteristics, for example patients' ages, number, medicine dozing, or how many patients read their prescriptions, you can do it in eWizard with slides and components.
Not all slide components allow for KPI collection. Components with KPI support are as follows: checkboxes, input, radio buttons, slider, text area, pop-up, and video. Each of these components comes in handy for certain values: text, number, and boolean. You can add a component to a slide and enable its monitoring without customization. Then statistics will be gathered as per the predefined scheme.
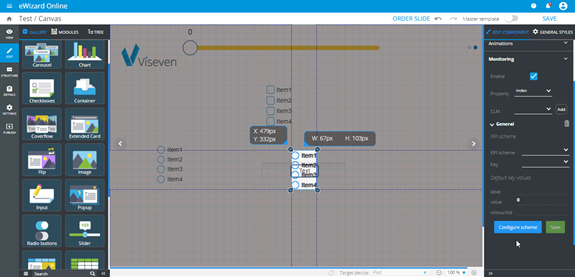
# How to activate KPI for a component
To activate KPI collecting, do the following:
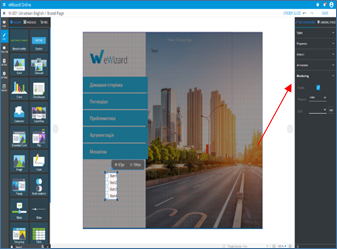
- Start editing the required e-Detailer.

Add a component to a slide from the elements panel (any of the mentioned above that allow KPI collection).
Go to
Monitoringon the right.
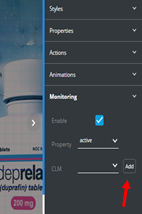
Unfold
Monitoring.Click
Enable:

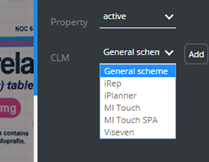
Select the desired property option (to specify what data to collect).
Select the required CLM option.
Click
Add.
# How to select the KPI scheme
To specify the selected CLM's KPI scheme, do the following:
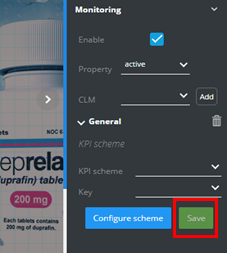
Add a CLM scheme. As you might note, once the scheme is added, its name appears below the CLM list.
Click it to open the KPI scheme related to the selected CLM scheme.
Select the required KPI scheme.
Select the
Keyvalue to define a KPI to be monitored while interacting with the component. TheDefault key valuesstand for the rest of the properties added to the selected KPI scheme. If you enter any numbers or symbols there, they will be transferred to your call's report as they are. You can leave these fields empty as well. If you don't see any default key values here, it means the KPI scheme includes only one property, which was picked at the beginning of this step.Click
Save.
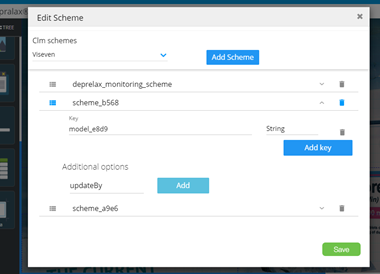
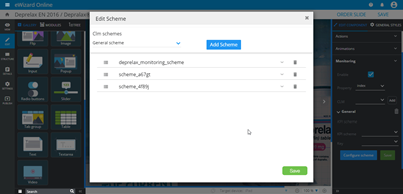
# How to configure scheme
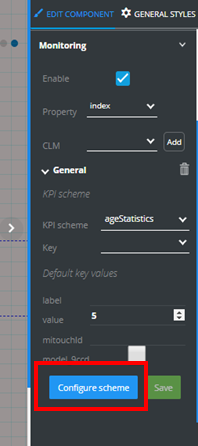
In case the required key of the KPI scheme is not included by default (when you cannot find it in the key drop-down) or its default type doesn't meet your needs, you can set up it manually. So, add a component to your slide, enable monitoring, add a CLM scheme, and follow the instructions:
- Click
Configure scheme:
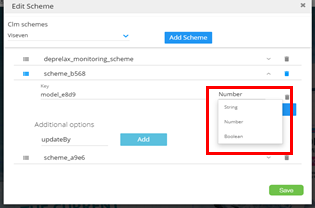
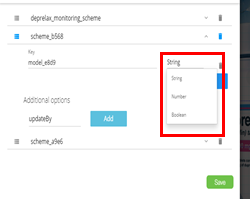
- Click the key's type drop-down to select the required type (string, number, or boolean). The key type depends on a parameter it is capable to pass:
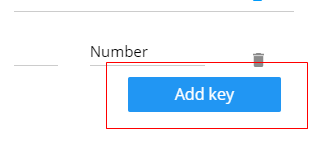
Alternatively, click Add key to add a new one:
- Define its type:
- To set any
Additional options, clickAdd. These options define how the information will be stored and updated:
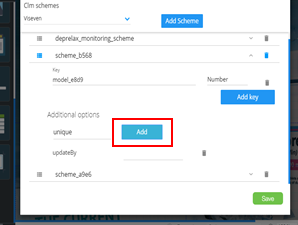
Select a key from the pre-defined list. This list also includes all keys you have already added, if any.
Click
Save:
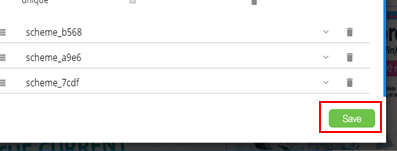
As a result of these configurations, when a doctor interacts with the component while watching the e-Detailer, the KPIs are recorded according to the configured scheme.